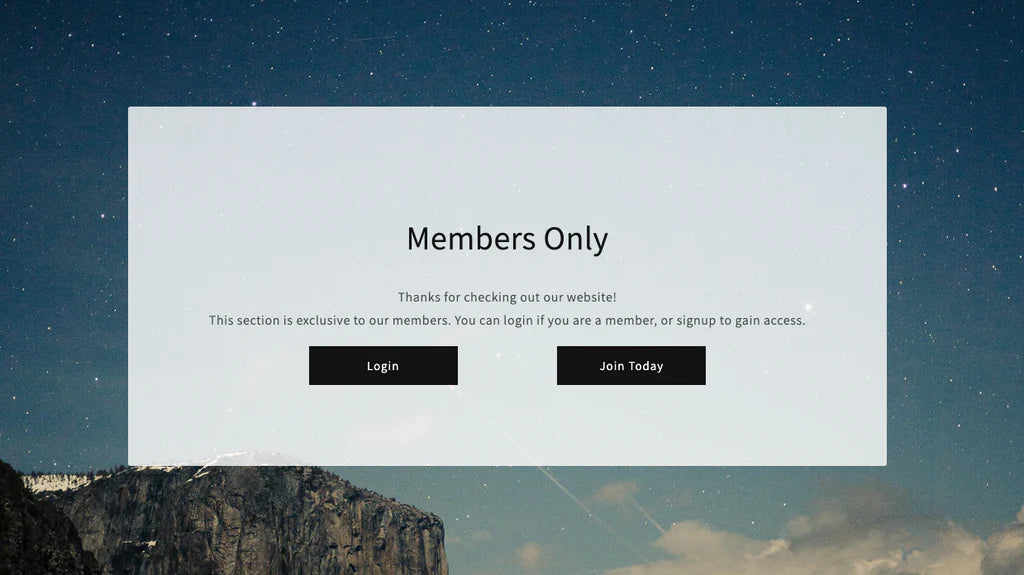
In this guide we’ll show you how to create customizable gated content (a paywall) so that some content is only accessible to certain customers, using a custom blog and article template.
This is an update to this article, for use in sectioned themes, specifically this guide is based on the Dawn theme and should work out of the box without making any changes.
The result should look like this:

You can see a live version on this website, here: https://www.pogodan.com/blogs/members-only
We'll assume for the purposes of this guide that you're already using a subscription app or have some other group of customers that you want to offer special access to, and all those customers are tagged with a specific tag. If you're using a subscription app, they will likely already be tagged.
Our members are tagged "member".
Create protected blog
In your code editor, create 3 new files:
- templates => blog.protected-content.json
- sections => blog--protected-content.liquid
- snippets => protected-content-gate.liquid
If you're using a different tag than "member" or you're using a metafield or something else to determine if the customer has access, you will need to modify line 19 on section blog--protected-content.liquid.
Create protected article
In your code editor, create 2 new files:
- templates => article.protected-content.json
- sections => article--protected-content.liquid
If you're using a different tag than "member" or you're using a metafield or something else to determine if the customer has access, you will need to modify line 3 on section article--protected-content.liquid.
Create your protected content
Add a new blog in Shopify. Make sure to select the "protected-content" template. Then add an article, again selecting the "protected-content" template.
Need Help?
This article and code snippets are designed for you to be able to do this yourself, but if you don't feel comfortable or want us to install the code for you, you can purchase our installation service.


